Minggu, 31 Juli 2011

More The Merrier Monday #22


Happy August!!!

I hope you all had a wonderful July and are ready for even hotter weather. 
Did you get a chance to join us last week for a wonderful Party? 
If not then you can check out some of the amazing projects that linked up right here. 


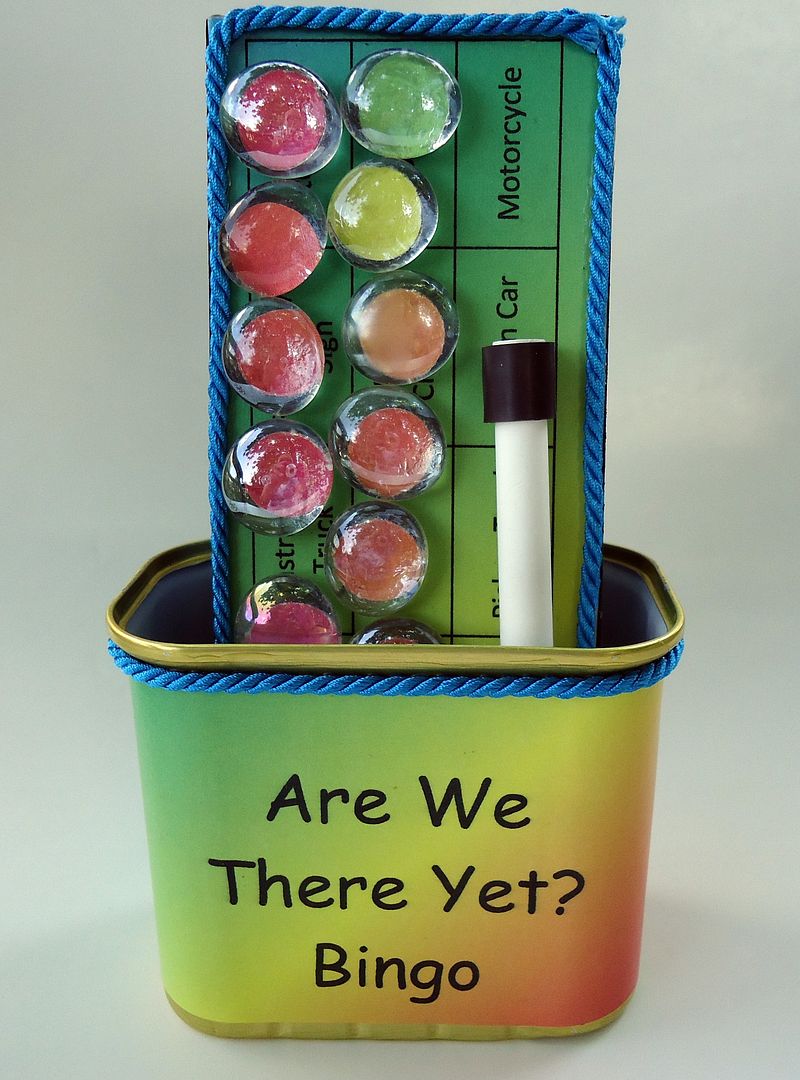
Are We There Yet? Bingo
Wouldn't You Rather Have Something Pretty
New Wire Rings


If you have been featured
please be sure to grab my button.


VOTE FOR ME!!!


Guidelines:
1. Please link directly to your post and NOT just to your blog.
2. PLEASE LINK BACK TO DIY HOME SWEET HOME OR GRAB THE MORE THE MERRIER BADGE.
3. Please Follow DIY Home Sweet Home.
4. Please visit as many links as you want links and leave comments.


Want to have your own link party? Click here.

GREEN and FRUGAL - DIY Disinfectant Cleaning Wipes


I used to be obsessed with disinfectant wipes. I kept them everywhere. In the kitchen, bathrooms, dining room, toy room (of course they were high enough so the kids could not get into them), I even kept some outside to wipe down the patio table. They were so convenient. Sticky fingerprints on the table - grab a wipe, bathroom counter needs cleaned - grab a wipe, sticky kitchen counters - grab a wipe, teething toy fell in the dirt - grab a wipe.
Of course this obsession was short lived when I realized how much I was spending on those bad boys. Not to mention all of the harmful chemicals that they contain.
Here is my new solution


DIY Disinfectant Wipes
Want to make your own?
Here is what you'll need


  1. Paper towels
  2. Vinegar
  3. Air tight container (baby wipe containers are perfect)

I had the select-a-size paper towels and started folding them in an accordion fold. After folding the desired amount (I used around 20) tear off from the rest of the roll and cut your paper towels in half.


Stack the two halves on top of each other and place inside of your container. Pour 1 cup vinegar into container. close and set aside until paper towels soak up all the liquid. And voila...


Notes:
  1. I found several websites that suggested cutting the entire roll of paper towels in half and sticking one half inside a larger container such as an old coffee grounds container. This would be a lot easier than folding all  of the paper towels but it would not fit in the container I had. Do what works best for you.
  2. I used vinegar as suggested in this article. If you do not like the strong vinegar scent there are several other recipes found online.
Linking up to THESE parties.


Did you enjoy this post?
Vote for me!


Visit Top Mommy Blogs To Vote For Me!


Need some last minute holiday shopping ideas?
Check out these amazing products!


183712_392x72 NavBarBanner


506521_winter_728x90_tights


344924_Gold SheepSkin Pumps at $44.99 210766_Get Great Toys at Unbeatable Prices at FunToyMall.com First One's on Us - IMEMFIRST 396868_Shop 2b for Affordable, Fun & Flirty Fashion 24/7

Rabu, 27 Juli 2011

Organizing Your Fabric

Unfortunately most of my fabric is still packed away in boxes. Before then I usually stored all of my fabric inside Rubbermaid bins. Although the bins look a lot nicer than having heaps of fabric scattered around the house, they made it such a pain to find anything. More often than not the fabric that I was looking for was found in the very bottom of the very last box. I literally wore myself out searching for fabric so when I finally did find it I didn't feel like doing anything with it. Here are a few ideas I came across to help me organize my fabric.

The glass containers mixed with the perfectly lined fabric in this photo is just beautiful.

Source


I love how the fabric is perfectly folded and stacked in this photo. And the buckets to hold smaller scraps are just darling.

Source


This is an amazing idea for organizing fabric. Although I think I would need about 20 of them to hold my entire collection.

Source


This is one of those ideas that are so simple I wonder why I didn't think of it.

Source


I absolutely love this idea since it allows you to hang as much or as little fabric as you want. (Assuming you have the closet space for it)

Source


This fabric is stored in bins (which I was trying to get away from) but by using smaller bins and adding labels to the front I think it would be much easier to find what you are looking for.

Source


I love how these draws are cut allowing you to see what is inside of them even when they are closed. 

Source

I also found this amazing tutorial on folding fabric. Don't these beautiful stacks just make you want to get started organizing your stash. 

Source


What do you do with your fabric. I would love to hear more ideas.

Minggu, 24 Juli 2011

More The Merrier Monday #21

Rise up this mornin',
Smiled with the risin' sun,
Three little birds
Pitch by my doorstep
Singin' sweet songs
Of melodies pure and true,
Sayin', "This is my message to you-ou-ou:"

Singin': "Don't worry 'bout a thing,
'Cause every little thing gonna be all right."
Singin': "Don't worry (don't worry) 'bout a thing,
'Cause every little thing gonna be all right!"

GOOD MORNING!!!!
 
I hope you all are having a wonderful Monday.
I know that I am. 
Hopefully sometime in the next couple weeks I'll have some very exciting news to share with you all. Anyone want to take a guess what it could be?

Nope, I'm not going to tell you now. 
You'll just have to wait.
 
But while your waiting go ahead and check out these fantastic projects that were linked up to last weeks link party.

Art Is Beauty
Red Hen Home
Sand Crabs
Craptastic

If you have been featured
please be sure to grab my button.


VOTE FOR ME!!!


Guidelines:
1. Please link directly to your post and NOT just to your blog.
2. PLEASE LINK BACK TO DIY HOME SWEET HOME OR GRAB THE MORE THE MERRIER BADGE.
3. Please Follow DIY Home Sweet Home.
4. Please visit as many links as you want links and leave comments.


Sabtu, 23 Juli 2011

White is my favorite color

I know what your thinking.
"But you just wrote in a previous post that you wanted bright, bold colors throughout your home?"
Yes, I do want bright bold colors throughout my home but I also would like a lot of white. I think white is so elegant, clean, simple, and just plain beautiful.
Check out these beautiful photos I found on PINTEREST .


What is your favorite color?

Kamis, 21 Juli 2011

Google +

DIY Home Sweet Home is now on 

Google +!!

Look up DIY Home Sweet Home in the search bar and add my to your one of your circles. 

Don't have Google+?

Send me and e-mail to hammond.j84@gmail.com and I'll send you an invite.

Rabu, 20 Juli 2011

DIY Bird Nest

There is a huge mesquite tree in the back yard.

Although it is a very beautiful tree, It makes one huge mess.

This conglomeration of dead leaves, seed pods, and twigs make for great padding when the kids fall off the tire swing.

That is, as long as you remove any fallen twigs with thorns. Check out these bad boys!!

(Sorry, My photo didn't turn out. Just imagine sticks and twigs covered with 3 inch long wooden spikes)

Sometimes mother nature amazes me.

Anyways, while I was sitting outside listening to the laughter of the girls as they covered themselves in dirt, a little bird nest caught my eye. I've looked at this bird nest about a dozen times, but this time I got an idea. I gave princess and bugaboo two plastic bowls and asked them to fill up the bowls with twigs, leaves, and whatever else they found under the tree.

While they were collecting I went inside, got another bowl and mixed 1 cup water with 1 cup flour. I then added the girls collection to my mixture. One everything is mixed and I had a consistency I was happy with, I placed it on a pan lined with wax paper and I did my best to mold it into a bird nest while the girls stuck extra twigs and sticks in any bare spots. 


I then baked it in the top rack of the oven at 250* for 2 hours. It still wasn't dry after this so I set it out back in a sunny place to finish drying.


The girls were so excited with the finished product, and I don't think it turned out half bad myself. Now I just need to make a few eggss to put inside it. Princess thinks we need to put it in the tree for the birds to use.

Linking up to THESE parties.

Selasa, 19 Juli 2011

Organized Pantry

As I have said before, we are currently staying with family until we can get a place of our own. Although the house we are staying in is a fairly good size, the pantry is tiny. Fortunately the kitchen has plenty of cabinet space to stash anything that does not fit. But never the less the pantry does tend to get a little unorganized. So naturally I decided to do a little organizing.

Here are a few before photos


Bottom
Middle
Top
Full View
I took everything out and put it back in its proper place. Here are the after shots.
Bottom


Middle
Top
Full view
To the top cupboard I added a container to hold straws and a couple baskets to hold chips and gluten free snacks (for our daughter who has celiac disease)

I moved all of the boxed items (cereal, cake mixes, mac and cheese, ect) to the middle cupboard. I added a shoe box to the back of the cupboard and stacked the cereal boxes on top of it to keep them from getting lost behind everything else. I also added a couple small drawers to hold vitamins, snacks and other random items.


All of the drinks were moved to the bottom cupboard as well as two large containers that hold flour and sugar.

BEFORE
AFTER
These picture don't really do it justice. It looks much more organized. And the best part... it is so much easier to find things now. 
What have you organized lately?

Linking up to THESE parties